
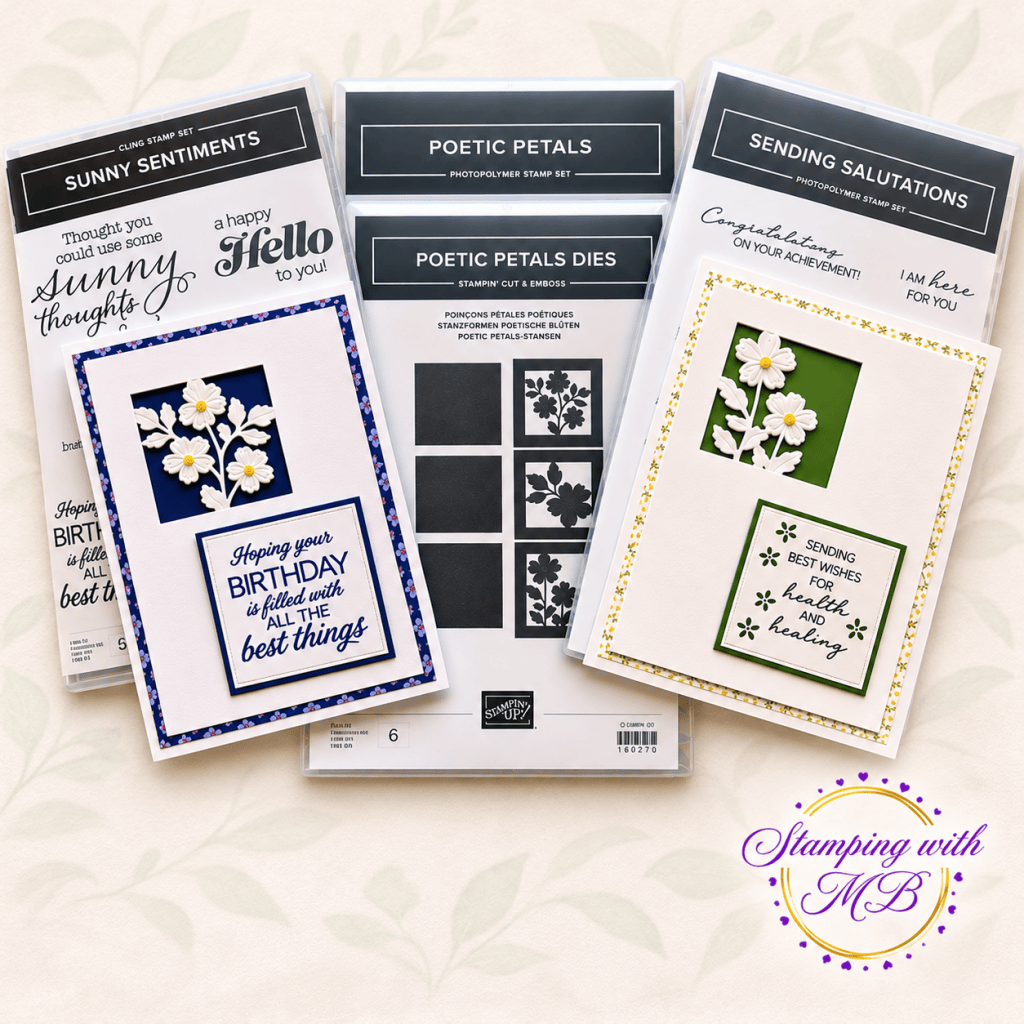
I had so much fun creating these two cards using the Poetic Petals Bundle and different patterns of Designer Series Paper! I love how the delicate floral die cuts really stand out against the colorful backgrounds. By simply changing the paper, colors, and greetings, you can create cards for so many different occasions!
One of my favorite things about Stampin’ Up! Designer Series Paper is how easy it makes coordinating colors and patterns. So, before you start your next card, take a look through your collection of Designer Series Paper. You might be surprised at what you already have that would be perfect for this design!
Now it’s your turn to get creative! Choose your favorite paper, grab your dies, and see how many different looks you can create with the same design. I’d love to see what you come up with!
Products Used:
Basic White cardstock – #166780
Designer Series Paper (DSP) from your stash
Coordinating color card stock (to match or compliment your DSP)
Poetic Petals Bundle 2025-2027 – #168271
Sending Salutations Stamp Set – #167857
Sunny Sentiments – #155034 (retired)
Stylish Shapes Dies – #159183
Rhinestone Basic Jewels – #144220
2026-2028 In Color Dots – #167546
Multipurpose Liquid Glue – #110755
Foam Adhesive Strips – #141825
Mini Dimensionals – #144108
Measurements:
Basic White : 8 1/2 x 5 1/2, 5 x 3 3/4 and 2 3/4 x 2 3/4
Designer Series Paper – 5 1/4 x 4
Coordinating Card stock – 2 pieces 2 3/4 x 2 3/4
Instructions:
- Score the Basic White 8 1/2 x 5 1/2 card base at 4 1/4 and fold
- Adhere the 5 1/4 x 4 Designer Series Paper to the card base.
- Die cut one of flower squares from the top left of the Basic White 5 x 3 3/4. Be sure to leave about 1/2 inch at the top and left side as shown in the picture above.
- Die cut one of the 2 3/4 x 2 3/4 coordinating card stock pieces using one of the squares from the Poetic Petals dies.
- Die cut the Basic White 2 3/4 x 2 3/4 using the middle square from the Stylish Shapes dies and stamp with your sentiment. I used 2 different sentiments, one from Poetic Petals and one from the retired Sunny Sentiments. (see photo above)
- Place one piece of the 2 3/4 x 2 3/4 coordinating card stock (not the die cut piece) on the back of the die cut Basic White and then place onto the card, this is only for placement. Once you have it placed adhere the small piece to the front of the card.
- Using the foam strips adhere them to the back of the die cut Basic White front piece. Then adhere mini dimensionals to the flowers and adhere to the front of the card
- Adhere the front Basic White sentiment piece to the coordinating cardstock and adhere to the front of the card.
- Apply your embellishments to the center of the flowers.
- Stamp your inside sentiment on the inside of the card.
Discover more from Stamping With MB
Subscribe to get the latest posts sent to your email.
